
Overview

RainbowKit is a React library that makes it easy to add wallet sign-in to your onchain application. It’s designed to work out-of-the-box and includes native support for Base Account. By integrating RainbowKit with Base Account, you can provide your users with a seamless onboarding experience while maintaining access to the full Base Account feature set.

What you’ll achieve

By the end of this guide, you will:
  • Set up RainbowKit with Base Account support
  • Learn how to use both ConnectButton and WalletButton components
  • Configure your app to prioritize Base Account as the primary wallet option
  • Obtain and configure a Reown project ID (required for RainbowKit projects)
You can jump ahead and use the Base Account RainbowKit Template to get started:
Base Account RainbowKit Templatehttps://github.com/base/demos/tree/master/base-account/base-account-rainbow-template

Installation

After creating a new Next.js project, install the required dependencies:
npm install @rainbow-me/rainbowkit wagmi viem @tanstack/react-query
Access the latest version of the Base Account SDK (Recommended)It is to access the latest version of the Base Account SDK in order to get the latest features and bug fixes.To do this, you can use the following command to override it:
npm pkg set overrides.@base-org/account="latest"
# OR manually add to package.json:
# "overrides": { "@base-org/account": "latest" }
Or you can use a specific version by adding the version to the overrides:
npm pkg set overrides.@base-org/account="2.2.0"
# OR manually add to package.json:
# "overrides": { "@base-org/account": "2.2.0" }
Make sure to delete your node_modules and package-lock.json and run a new install to ensure the overrides are applied.

Get Your Reown Project ID

Before you can use RainbowKit with Base Account, you need to obtain a project ID from Reown Cloud.
  1. Visit Reown Cloud Dashboard
  2. Sign up for a free account or log in if you already have one
  3. Create a new project and copy the project ID.

Configuration

1. Configure Wagmi with RainbowKit

Create a wagmi.ts file in your src directory to configure your blockchain connections and wallet options:
src/wagmi.ts
import { getDefaultConfig } from '@rainbow-me/rainbowkit';
import {
  base,
  mainnet
} from 'wagmi/chains';

export const config = getDefaultConfig({
  appName: 'My Base Account App',
  projectId: 'YOUR_PROJECT_ID', // Replace with your Reown project ID
  chains: [
    mainnet,
    base
  ],
  ssr: true, // Enable server-side rendering support
});
Replace YOUR_PROJECT_IDMake sure to replace 'YOUR_PROJECT_ID' with the actual project ID you obtained from Reown Cloud.For production applications, use environment variables:
projectId: process.env.NEXT_PUBLIC_REOWN_PROJECT_ID!,
And add to your .env.local:
NEXT_PUBLIC_REOWN_PROJECT_ID=your_project_id_here

2. Set up RainbowKit Provider

Wrap your application with the necessary providers in your _app.tsx:
src/pages/_app.tsx
import '../styles/global.css';
import '@rainbow-me/rainbowkit/styles.css';
import type { AppProps } from 'next/app';

import { QueryClient, QueryClientProvider } from '@tanstack/react-query';
import { WagmiProvider } from 'wagmi';
import { RainbowKitProvider } from '@rainbow-me/rainbowkit';

import { config } from '../wagmi';

const queryClient = new QueryClient();

function MyApp({ Component, pageProps }: AppProps) {
  return (
    <WagmiProvider config={config}>
      <QueryClientProvider client={queryClient}>
        <RainbowKitProvider>
          <Component {...pageProps} />
        </RainbowKitProvider>
      </QueryClientProvider>
    </WagmiProvider>
  );
}

export default MyApp;

Usage

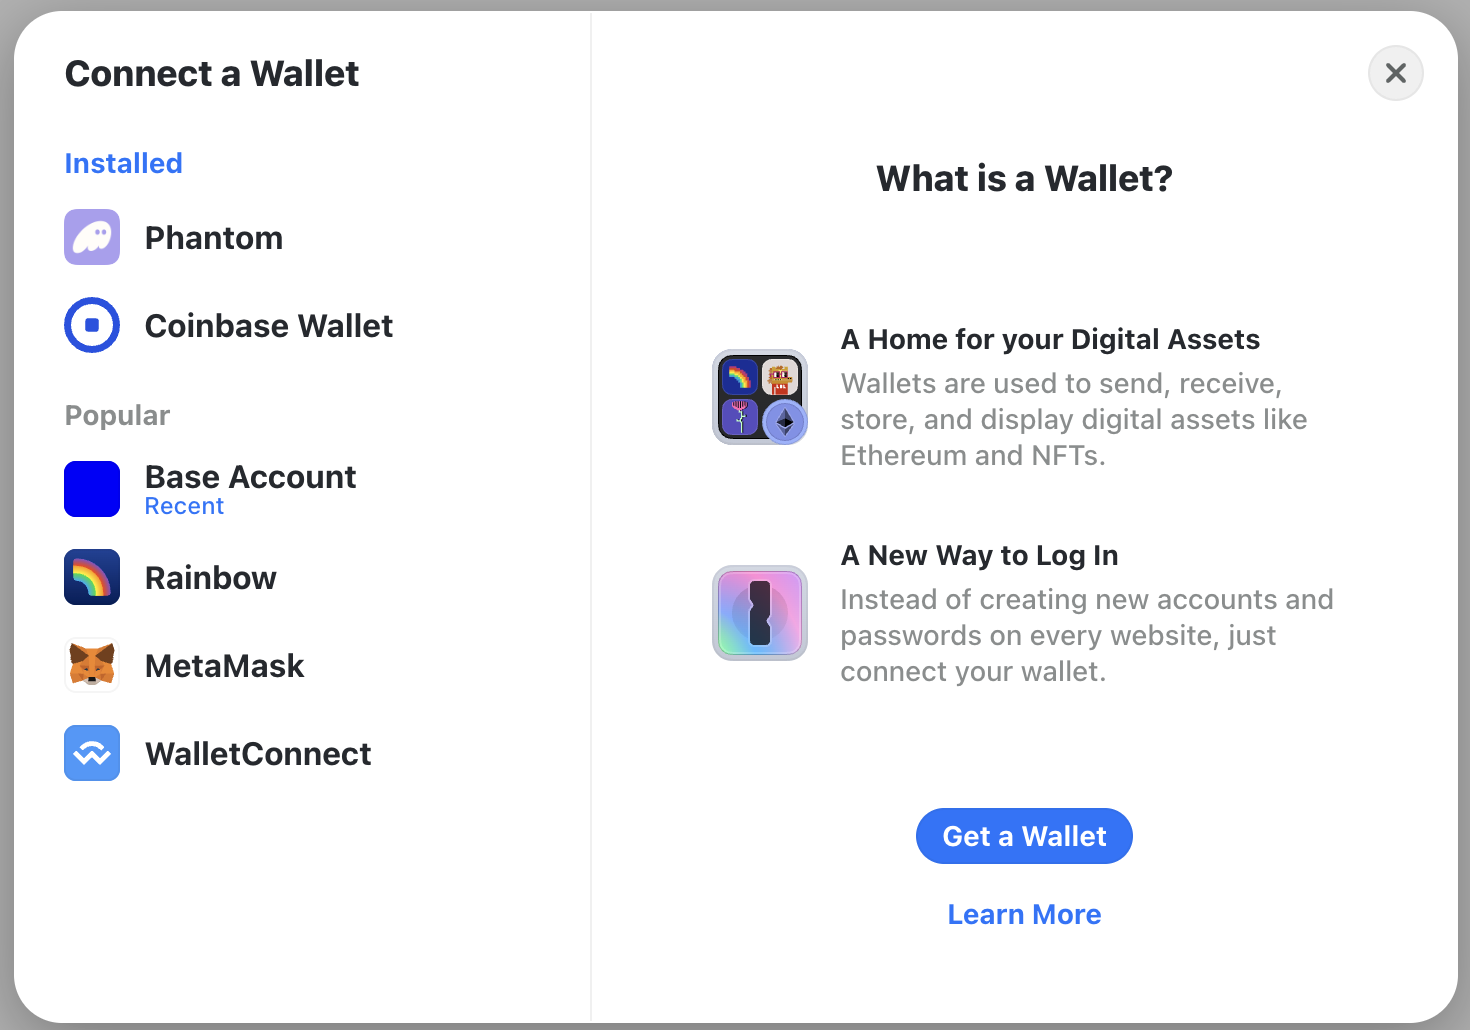
RainbowKit provides two main components for wallet connections: ConnectButton and WalletButton. Both components support Base Account out of the box.

Option 1: Using ConnectButton

The ConnectButton is RainbowKit’s all-in-one wallet connection component. It displays the wallet connection modal with all available wallets, including Base Account.
src/pages/index.tsx
import { ConnectButton } from '@rainbow-me/rainbowkit';
import type { NextPage } from 'next';

const Home: NextPage = () => {
  return (
    <div
      style={{
        display: 'flex',
        justifyContent: 'flex-end',
        padding: 12,
      }}
    >
      <ConnectButton />
    </div>
  );
};

export default Home;
When implemented, this is what it will look like:
RainbowKit Wallet Window

Option 2: Using WalletButton for Base Account

The WalletButton component provides a direct connection to a specific wallet. This is ideal when you want to highlight Base Account as the primary wallet option.
src/pages/index.tsx
import { WalletButton } from '@rainbow-me/rainbowkit';
import type { NextPage } from 'next';

const Home: NextPage = () => {
  return (
    <div
      style={{
        display: 'flex',
        justifyContent: 'flex-end',
        padding: 12,
      }}
    >
      <WalletButton wallet="baseAccount" />
    </div>
  );
};

export default Home;
When implemented, this is what it will look like:
Base Account Button

Advanced Configuration

Prioritize Base Account in Wallet List

To make Base Account appear first in the wallet connection modal, you can customize the wallet order:
src/wagmi.ts
import { getDefaultConfig } from '@rainbow-me/rainbowkit';
import { base, mainnet, sepolia } from 'wagmi/chains';

export const config = getDefaultConfig({
  appName: 'My Base Account App',
  projectId: process.env.NEXT_PUBLIC_REOWN_PROJECT_ID!,
  chains: [base, mainnet, sepolia],
  ssr: true,
  // Wallet configuration
  wallets: [
    {
      groupName: 'Recommended',
      wallets: ['baseAccount'], // Base Account appears first
    },
  ],
});

Customize RainbowKit Theme

RainbowKit supports extensive theming options:
src/pages/_app.tsx
import { RainbowKitProvider, darkTheme } from '@rainbow-me/rainbowkit';

function MyApp({ Component, pageProps }: AppProps) {
  return (
    <WagmiProvider config={config}>
      <QueryClientProvider client={queryClient}>
        <RainbowKitProvider
          theme={darkTheme({
            accentColor: '#0052FF', // Base blue
            accentColorForeground: 'white',
            borderRadius: 'medium',
          })}
        >
          <Component {...pageProps} />
        </RainbowKitProvider>
      </QueryClientProvider>
    </WagmiProvider>
  );
}

Access Wallet Connection State

Use wagmi hooks to access wallet connection state throughout your app:
import { useAccount, useDisconnect, useEnsName } from 'wagmi';

function Profile() {
  const { address, isConnected } = useAccount();
  const { disconnect } = useDisconnect();
  const { data: ensName } = useEnsName({ address });

  if (!isConnected) return <div>Not connected</div>;

  return (
    <div>
      <p>Connected to {ensName ?? address}</p>
      <button onClick={() => disconnect()}>Disconnect</button>
    </div>
  );
}

Switch Networks Programmatically

Allow users to switch between different chains:
import { useSwitchChain } from 'wagmi';
import { base, mainnet } from 'wagmi/chains';

function NetworkSwitcher() {
  const { switchChain } = useSwitchChain();

  return (
    <div>
      <button onClick={() => switchChain({ chainId: base.id })}>
        Switch to Base
      </button>
      <button onClick={() => switchChain({ chainId: mainnet.id })}>
        Switch to Mainnet
      </button>
    </div>
  );
}

Best Practices

Use Environment Variables

Store sensitive configuration like your Reown project ID in environment variables, not in your code:
.env.local
NEXT_PUBLIC_REOWN_PROJECT_ID=your_project_id_here

Enable SSR Support

Always set ssr: true in your wagmi config for Next.js applications to avoid hydration issues:
export const config = getDefaultConfig({
  // ...
  ssr: true,
});

Prioritize Base Chain

Put Base as the first chain in your configuration to make it the default:
chains: [base, mainnet, ...otherChains]

Keep Dependencies Updated

Regularly update RainbowKit, wagmi, and viem to get the latest Base Account features and security patches:
npm update @rainbow-me/rainbowkit wagmi viem

Next Steps

Now that you have RainbowKit configured with Base Account, you can:
I