Implementation Guide
1
Set up your Paymaster service
As a prerequisite, you’ll need to obtain a Paymaster service URL from a Paymaster service provider.We’ll use Coinbase Developer Platform as a Paymaster service provider,
currently offering up to $15k in gas credits as part of the Base Gasless Campaign.Once you have signed up for Coinbase Developer Platform, you get your Paymaster service URL by navigating to Onchain Tools > Paymaster as shown below: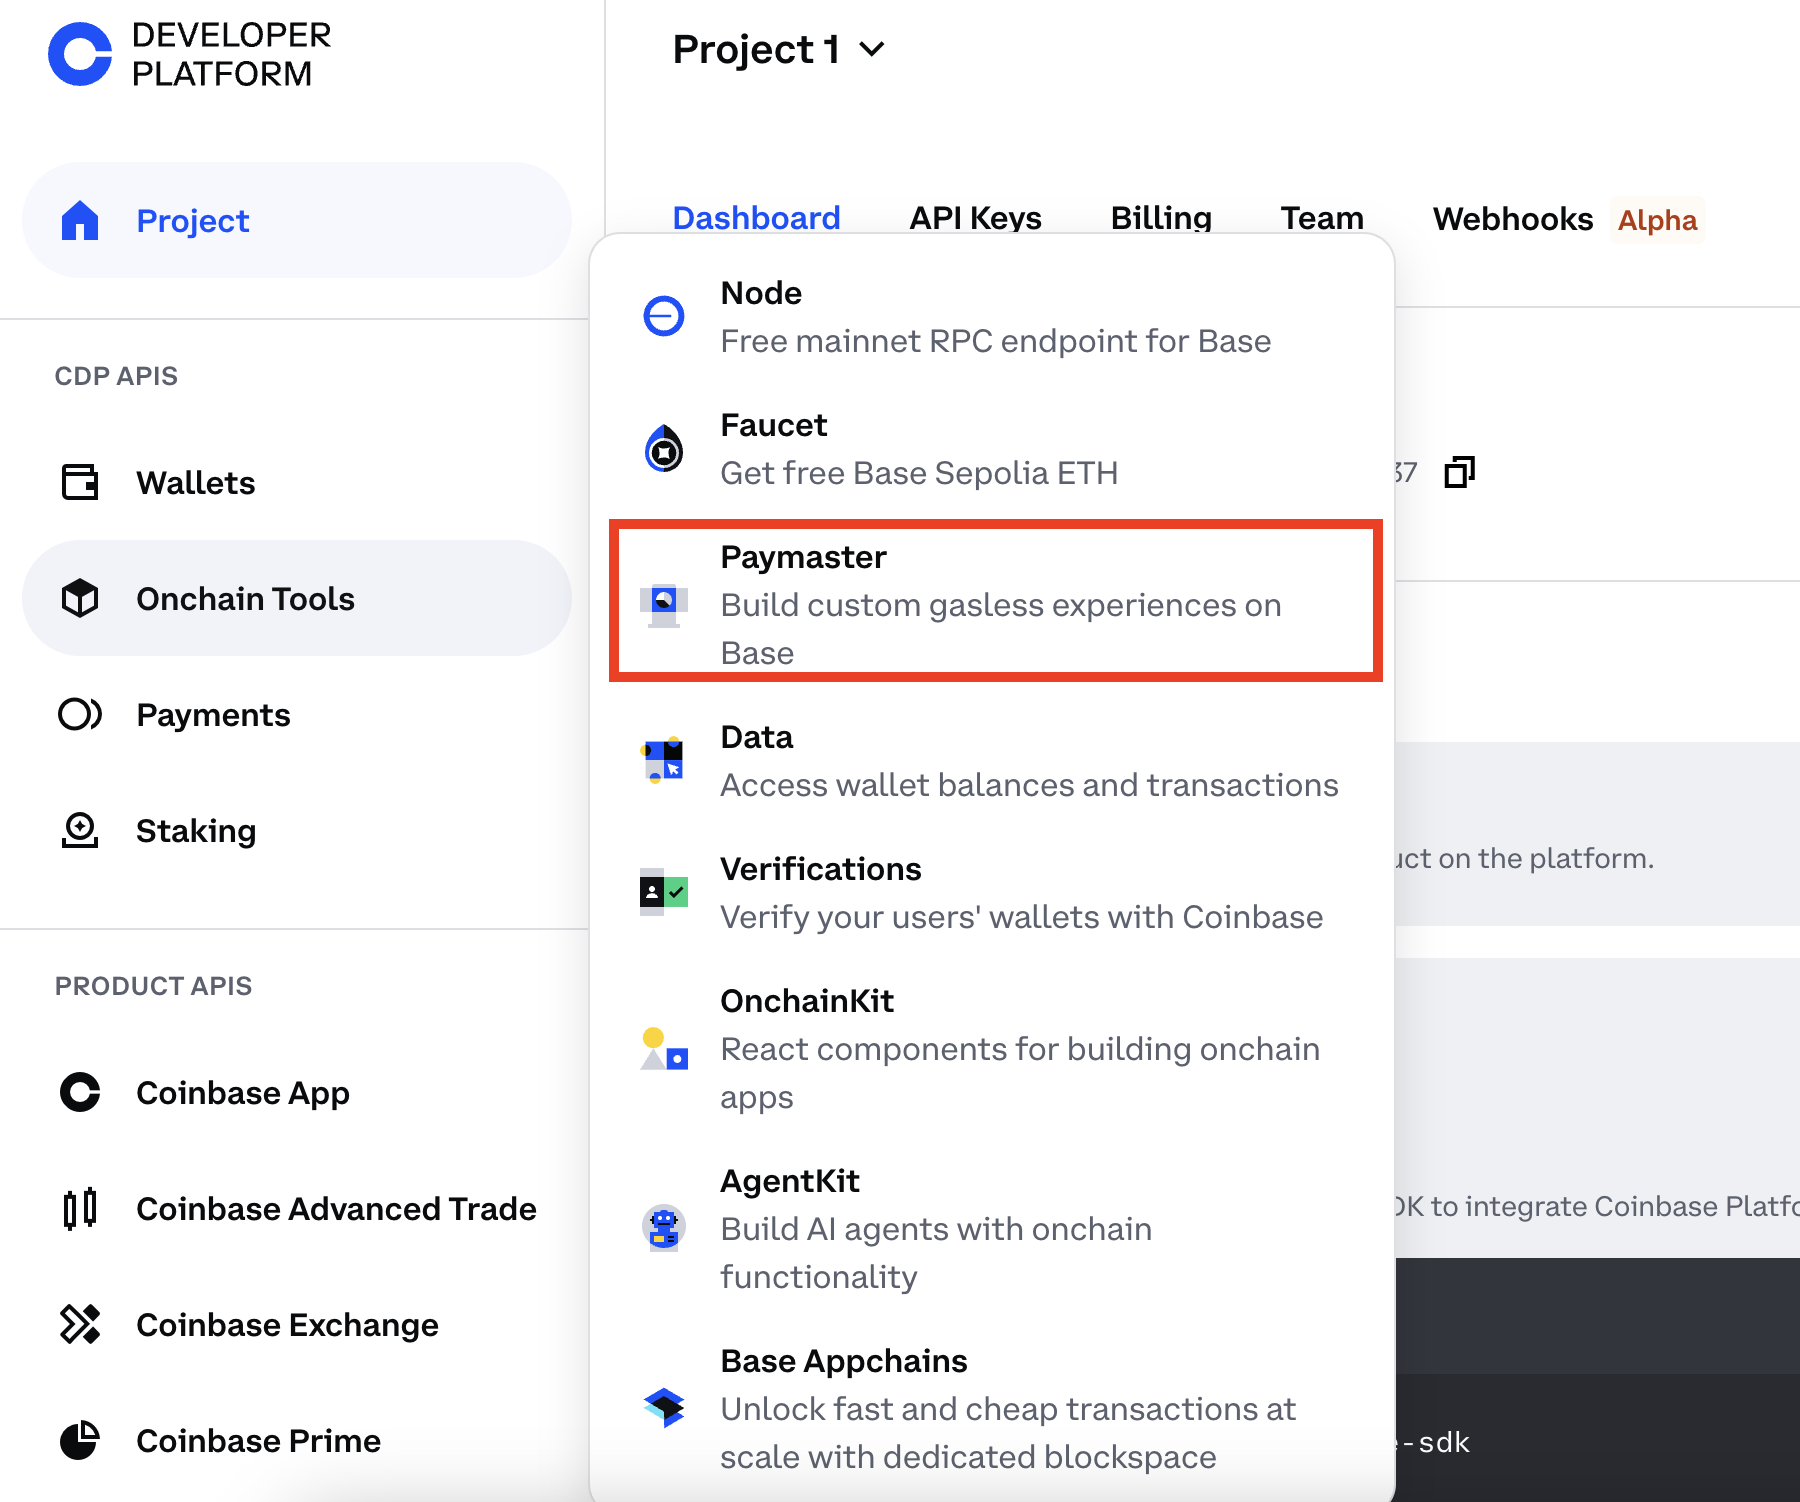
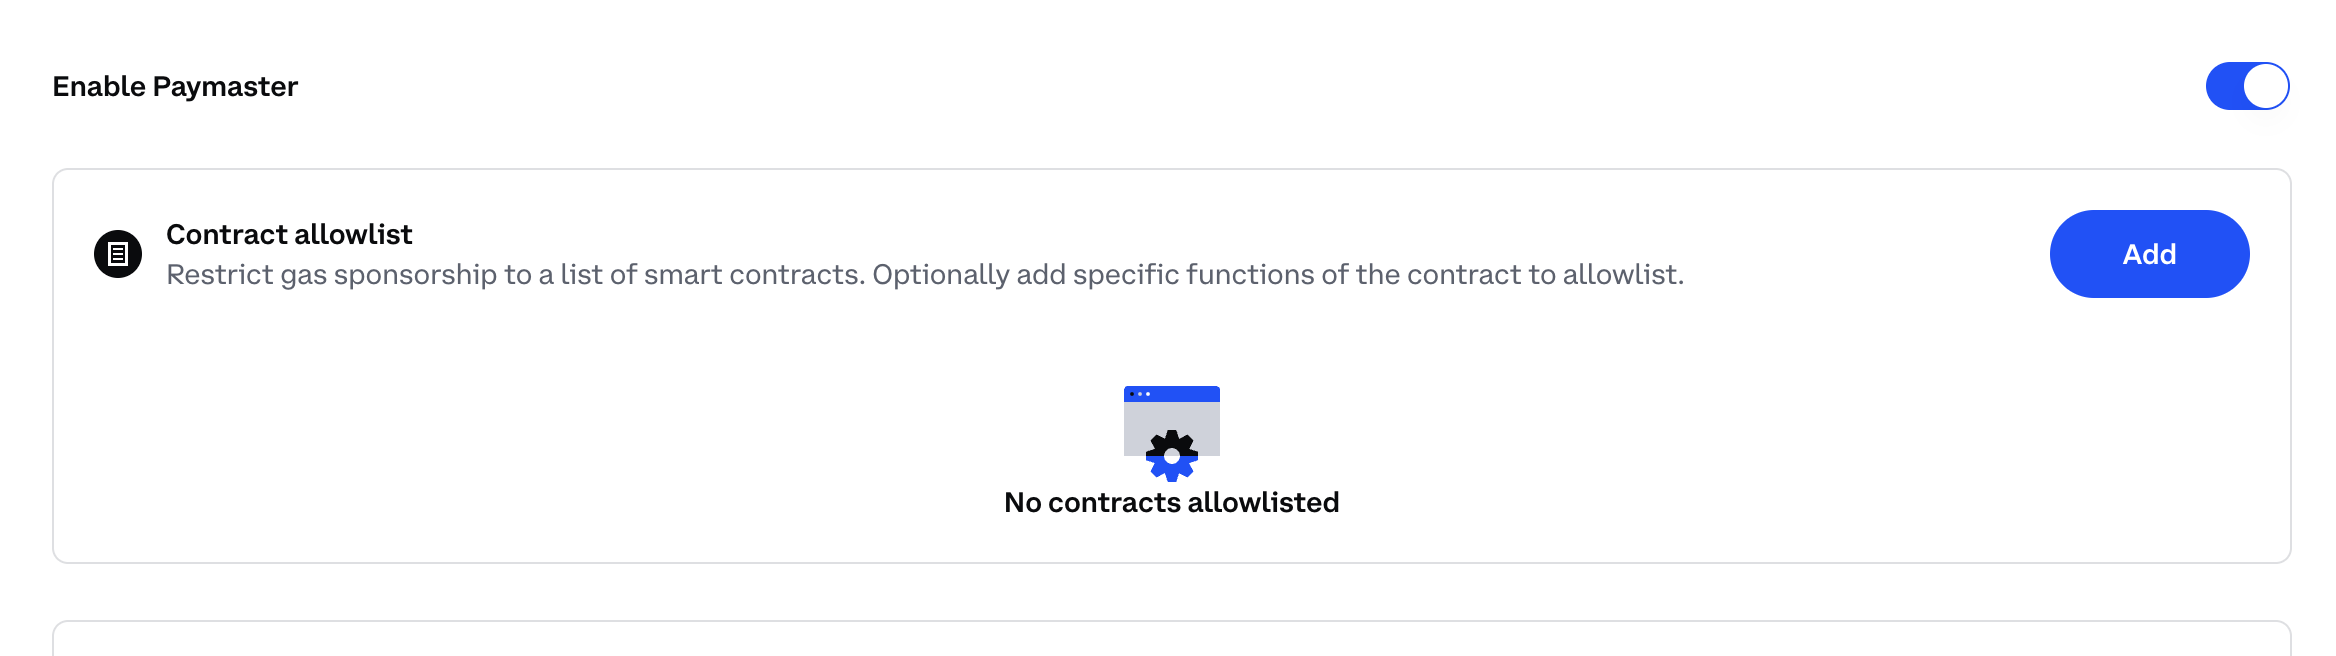
You can also choose to create custom advanced policies !You can create a
willSponsor function to add some extra validation if you need more control over the policy enforcement.willSponsor is most likely not needed if you are using Coinbase Developer Platform as it has built-in policy enforcement features,
but know that this is still possible if you need it.2
3
Send transactions with Paymaster service capability
Once you have your Paymaster service set up, you can now use That’s it! Base Account will handle the rest. If your Paymaster service is able to sponsor the transaction,
in the UI Base Account will indicate to your user that the transaction is sponsored.
wallet_sendCalls with paymaster capabilities to sponsor transactions.Pass in the proxy URLIf you set up a proxy in your app’s backend as recommended in step (1) above, you’ll want to pass in the proxy URL you created.
Basic Sponsored Transaction
Here’s how to send a sponsored transaction using thewallet_sendCalls RPC method: