Overview
Spend Permissions let you designate a trustedspender that can move assets out of a user’s Base Account on their behalf.
After the user signs the permission, the spender can initiate transfers within the limits you define — no additional prompts, pop-ups, or signatures needed from the user. This powers seamless experiences such as subscription renewals, algorithmic trading, and automated payouts.
Read more about the Spend Permission Manager contract and supported chains on GitHub.
Spend Permissions for Base App Mini Apps are coming soon and will be supported in a future update.
If you’re using Sub Accounts, learn how Base Account can automatically fund Sub Accounts and optionally skip approval prompts using Auto Spend Permissions.
Usage
Request a Spend Permission
You create an EIP-712 payload that describes the permission and ask the user to sign it. Store the resulting signature along with the permission data so you can register the permission on-chain later. The SDK helper below handles construction and signing for you.| Field Name | Type | Description |
|---|---|---|
account | address | Smart account this spend permission is valid for |
spender | address | Entity that can spend account’s tokens |
token | address | Token address (ERC-7528 native token or ERC-20 contract) |
allowance | uint160 | Maximum allowed value to spend within each period |
period | uint48 | Time duration for resetting used allowance on a recurring basis (seconds) |
start | uint48 | Timestamp this spend permission is valid starting at (inclusive, unix seconds) |
end | uint48 | Timestamp this spend permission is valid until (exclusive, unix seconds) |
salt | uint256 | Arbitrary data to differentiate unique spend permissions with otherwise identical fields |
extraData | bytes | Arbitrary data to attach to a spend permission which may be consumed by the spender |
Use the Spend Permission
Using a permission is 2 steps:- Prepare the calls — Call
prepareSpendCallDatawith the permission and the requestedamount. - Submit the calls — Submit the calls using your app’s spender account.
prepareSpendCallData returns an array of calls needed to spend the tokens:
approveWithSignature— When the permission is not yet registered onchain, this call would be prepended to thespendcall.spend— The call to spend the tokens from the user’s Base Account.
About the
spendCalls arrayThis array has 2 calls when submitting the permission onchain for the first time.
When the permission is already registered onchain, this array has only 1 call (the spend call).For most use cases, you don’t need to worry about this.Revoke a Spend Permission
You can revoke a permission in two ways:- Request user approval via request to user’s Base Account using
requestRevoke. - Revoke silently from your app’s spender by submitting the call returned from
prepareRevokeCallData.
API Reference
- requestSpendPermission
- prepareSpendCallData
- requestRevoke
- prepareRevokeCallData
- fetchPermissions
- fetchPermission
- getPermissionStatus
Complete Integration Example
Example Use Case
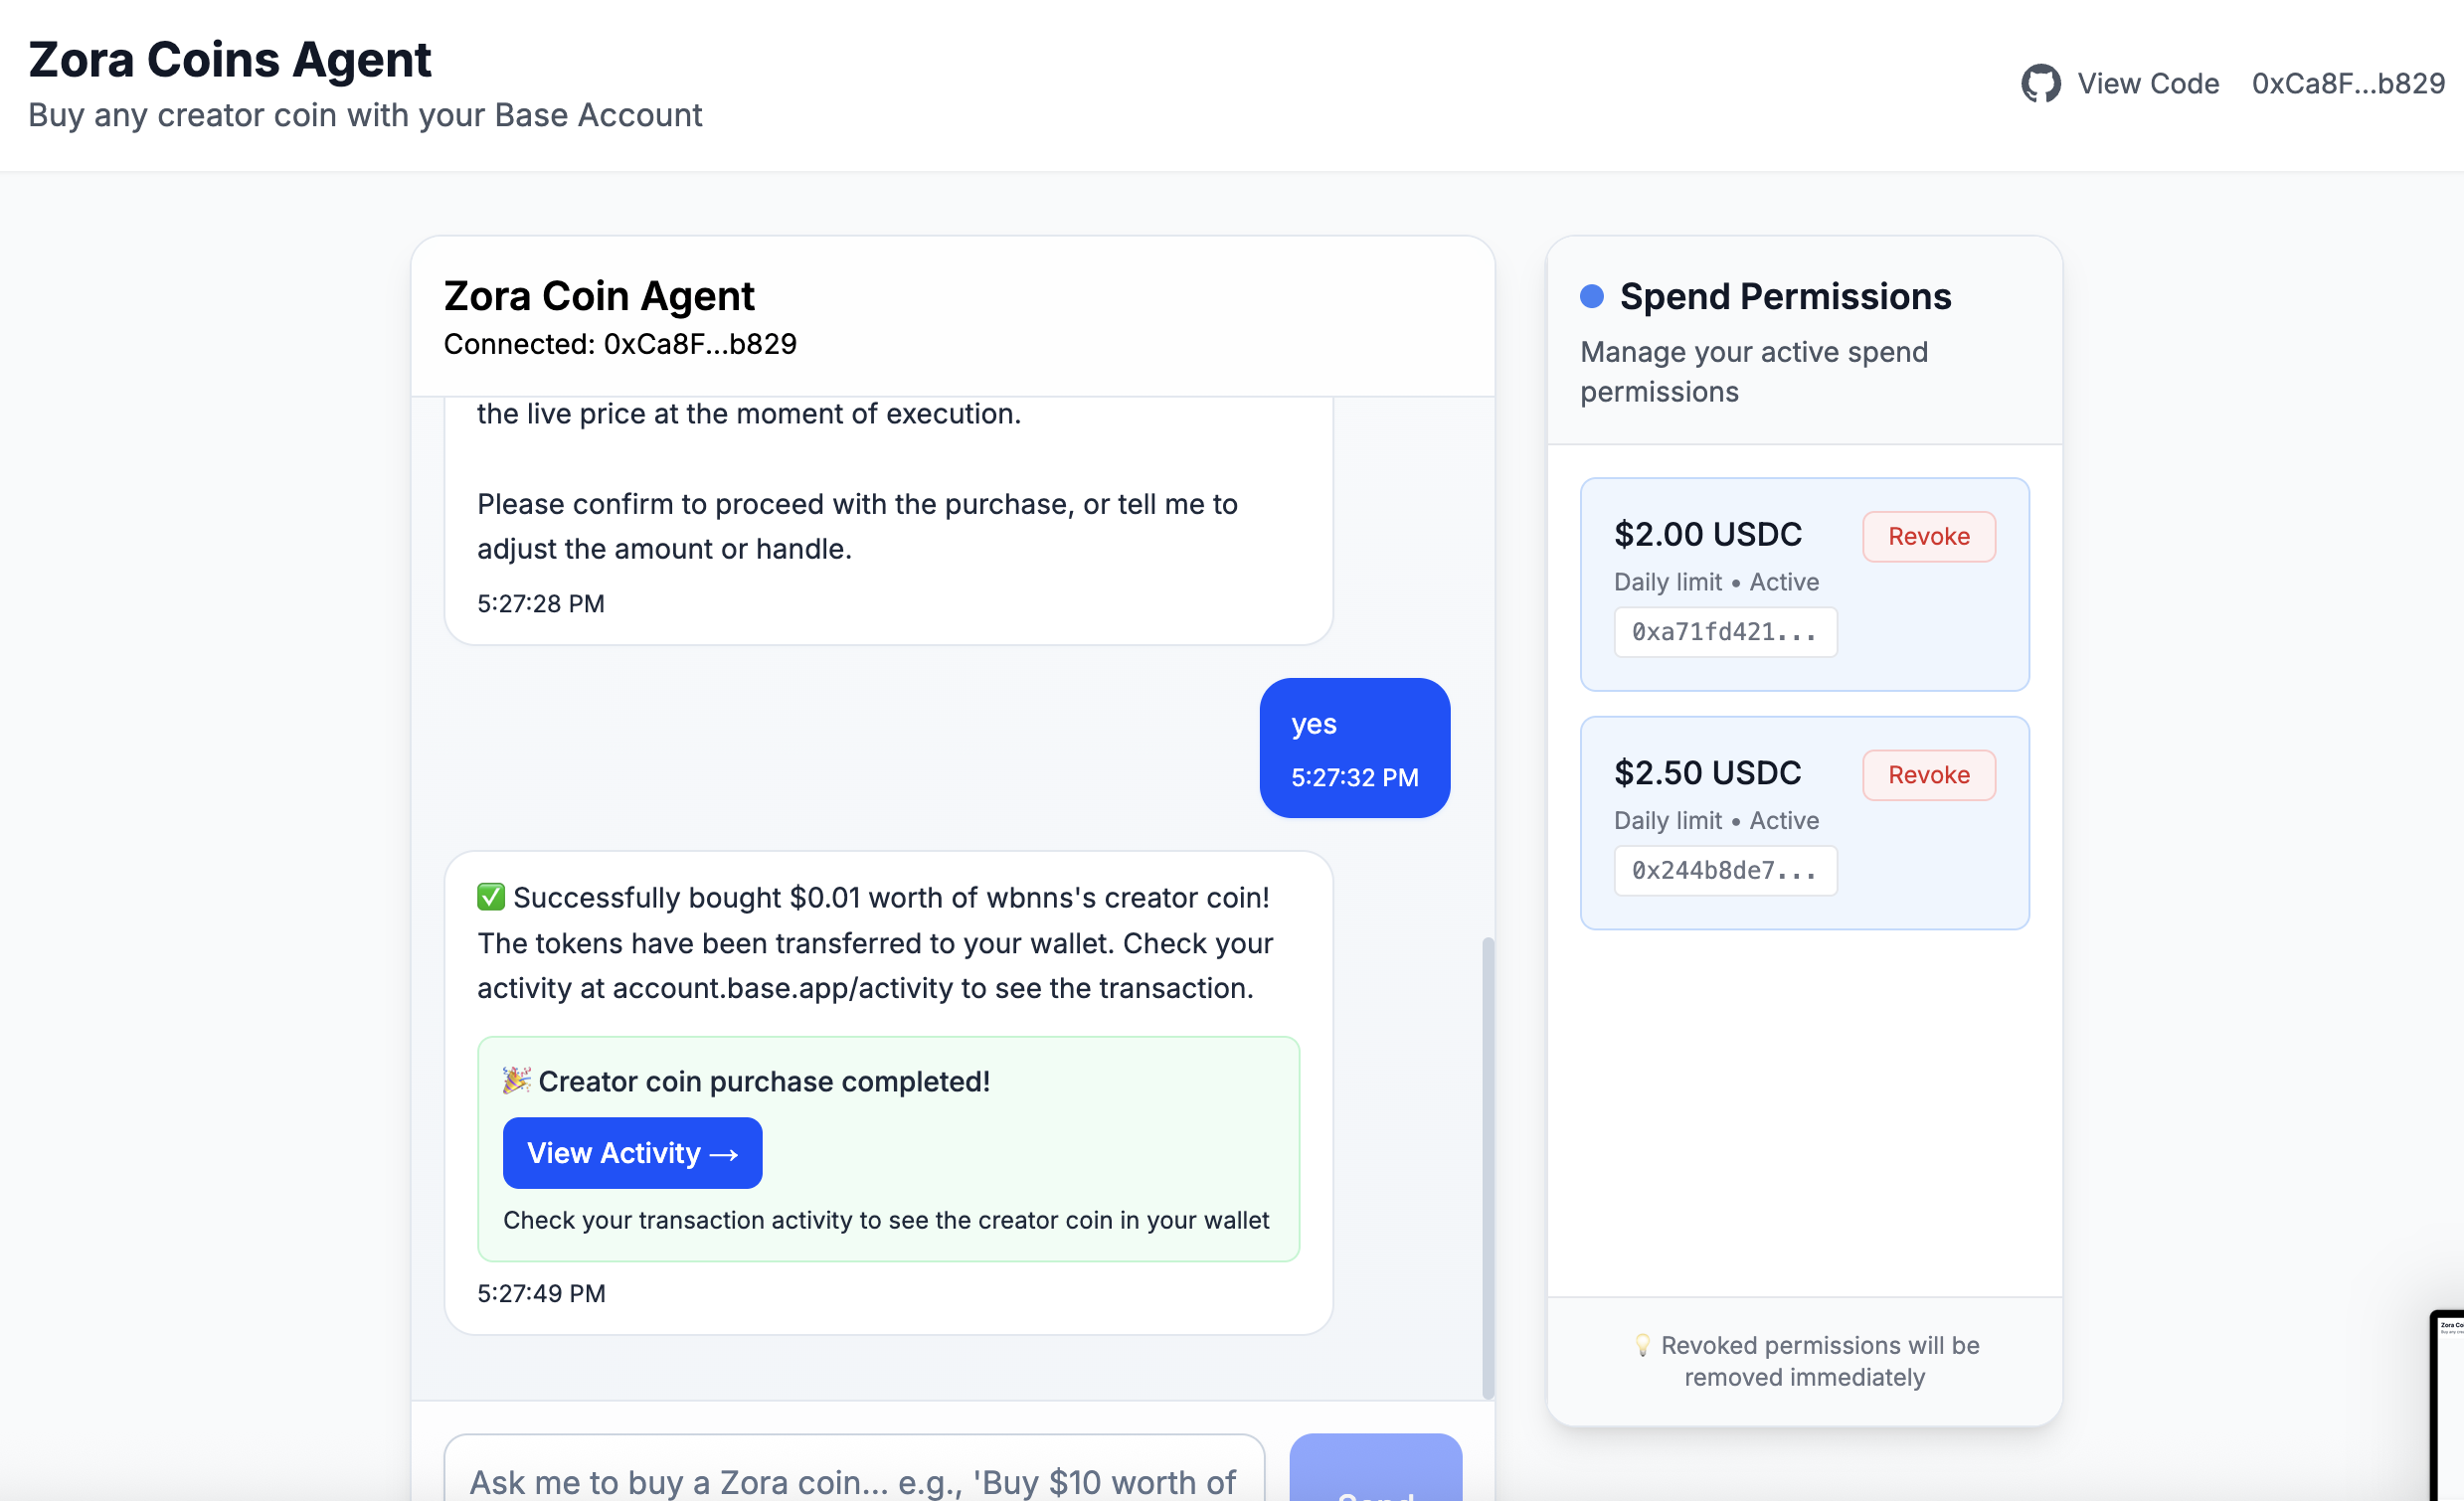
Let’s say you’re building an AI agent that can autonomously purchase Zora Creator Coins using secure Spend Permissions on Base. This example demonstrates how to combine Base Account’s Spend Permissions with Coinbase Developer Platform (CDP) Server Wallets and Trade API for seamless, gas-free AI agent transactions.
Live Demo
Try the live application and see spend permissions in action
Source Code
Explore the complete implementation on GitHub