Guides
Use Sub Accounts
Learn how to create and manage Sub Accounts using Base Account SDK
What are Sub Accounts?
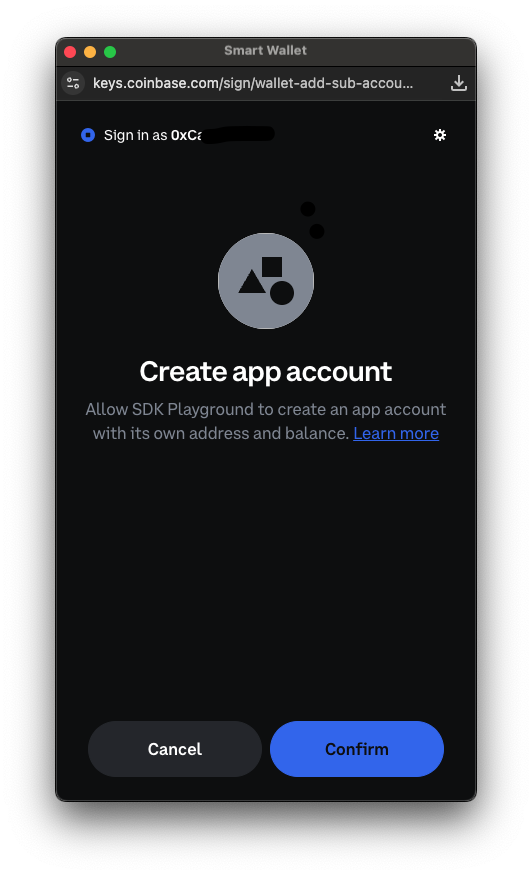
Base Account’s self-custodial design requires a user passkey prompt for each wallet interaction, such as transactions or message signing. While this ensures user awareness and approval of every wallet interaction, it can impact user experience in applications requiring frequent wallet interactions. To support Base Account with user experiences that need more developer control over wallet interactions, we’ve built Sub Accounts in conjunction with ERC-7895, a new wallet RPC for creating hierarchical relationships between wallet accounts. Sub Accounts allow you to provision wallet accounts that are directly embedded in your application for your users. You can control when a Sub Account is created and interact with them just as you would with another wallet via the wallet provider or popular web3 libraries like OnchainKit, wagmi, and viem. These Sub Accounts are linked to the end user’s Base Account through an onchain relationship. When combined with our Spend Permission feature, this creates a powerful foundation for provisioning and funding app accounts securely, while giving you ample control over building the user experience that makes the most sense for your application.Key Benefits
- Seamless UX: Reduce user friction by eliminating repeated signing prompts
- Developer Control: Manage when and how Sub Accounts are created
- Secure Relationships: Onchain linking between main account and sub accounts
- Spend Permissions: Control what Sub Accounts can spend and when
- Easy Integration: Works with existing web3 libraries and tools
If you would like to see a live demo of Sub Accounts in action, check out our Sub Accounts Demo.
Pair with Spend PermissionsIn order to make your UX more seamless, you can pair Sub Accounts with the
Spend Permissions
to make transactions on behalf of the user.
Installation
Install the Base Account SDK:Basic Setup
Initialize the SDK
First, set up the Base Account SDK with Sub Account support:Using Sub Accounts
Create a New Sub Account
Create a Sub Account for your application using the provider RPC method:Tip:Make sure to authenticate the user with their universal account before creating a Sub Account.
For that, you can choose one of the following options:
- Follow the Authenticate users guide
- Simply use
provider.request({ method: 'eth_requestAccounts' });for a simple wallet connection
Import an existing Sub Account
If you already have a deployed Smart Contract Account, you can import it as a Sub Account using the provider RPC method:Before the Sub Account is imported, you will need to add the Base Account address as an owner of the Sub Account. This currently needs to be done manually
by calling the
addOwnerAddress or addOwnerPublicKey functions on the Smart Contract of the Sub Account that was imported and setting the Base Account address as the owner.Additionally, only Coinbase Smart Wallet contracts are currently supported for importing as a Sub Account into your Base Account.Get Existing Sub Account
Retrieve an existing Sub Account using the provider RPC method:Send transactions
To send transactions from the connected sub account you can use EIP-5792wallet_sendCalls or eth_sendTransaction. You need to specify the from parameter to be the sub account address.
Tip:When the sub account is connected, it is the second account in the array returned by
eth_requestAccounts or eth_accounts.