Skip to content

Integrating MiniKit with Existing Applications

This guide helps developers integrate MiniKit into an existing Next.js project. It includes installation steps, provider setup and environment configuration.

Prerequisites

Before you begin, confirm the following:

  • You are using a Next.js project with the app/ directory structure.

  • Your app is deployed and publicly accessible (e.g. via Vercel).

  • Farcaster account

  • Coinbase Developer Platform Account: Sign up for a Coinbase Developer Platform to retrieve your CDP API Key.

Step 1: Install required dependencies

MiniKit is available as part of Onchainkit.

npm install @coinbase/onchainkit

Step 2: Add the MiniKitProvider to your app

Create and use the MiniKitProvider to initialise SDK context for your application.

File: providers/MiniKitProvider.tsx
'use client';
 
import { MiniKitProvider } from '@coinbase/minikit';
 
export function MiniKitContextProvider({ children }: { children: ReactNode }) {
  return (
    <MiniKitProvider
      apiKey={process.env.NEXT_PUBLIC_CDP_CLIENT_API_KEY}
      chain={base}
    >
      {props.children}
    </MiniKitProvider>
  );
}

Then wrap your app in app/layout.tsx:

import { MiniKitContextProvider } from '@/providers/MiniKitProvider';
 
export default function RootLayout({ children }: { children: React.ReactNode }) {
  return (
    <html lang="en">
      <body>
        <MiniKitContextProvider>
          {children}
        </MiniKitContextProvider>
      </body>
    </html>
  );
}

Step 3: Initialise MiniKit in your main page

Use the useMiniKit hook to access the frame context and trigger readiness.

File: app/page.tsx
'use client';
 
import { useEffect, useState } from 'react';
import { useMiniKit } from '@coinbase/minikit';
 
export default function HomePage() {
  const { setFrameReady, isFrameReady } = useMiniKit();
 
  // The setFrameReady() function is called when your mini-app is ready to be shown
  useEffect(() => {
    if (!isFrameReady) {
      setFrameReady();
    }
  }, [setFrameReady, isFrameReady]);
 
  return <div>Your app content goes here</div>;
}

Step 4: Set environment variables

Add the required environment variables to your project and deployment platform.

NEXT_PUBLIC_ONCHAINKIT_PROJECT_NAME=
NEXT_PUBLIC_ONCHAINKIT_API_KEY=
NEXT_PUBLIC_SPLASH_IMAGE_URL=
NEXT_PUBLIC_SPLASH_BACKGROUND_COLOR=FFFFFF
NEXT_PUBLIC_IMAGE_URL=
NEXT_PUBLIC_ICON_URL=
NEXT_PUBLIC_VERSION=next
FARCASTER_SIGNATURE=
NEXT_PUBLIC_URL=
FARCASTER_HEADER=
FARCASTER_PAYLOAD=
FARCASTER_SIGNATURE=

Step 5: Generate the manifest

Use the Onchainkit CLI to generate a farcaster.json file, which describes your app’s metadata to the Farcaster protocol.

npx create-onchain --manifest

The wallet that you connect must be your Farcaster custody wallet. You can import this wallet to your preferred wallet using the recovery phrase. You can find your recovery phrase in the Warpcast app under Settings -> Advanced -> Farcaster recovery phrase.

Once connected, add the vercel url and sign the manifest. This will automatically update your .env variables locally, but we'll need to update Vercel's .env variables.

Step 6: Define Farcaster frame metadata

Use generateMetadata to define the Farcaster Mini App preview, button text, and post URL for your cast.

File: app/layout.tsx
export const generateMetadata = (): Metadata => {
  return {
    title: process.env.NEXT_PUBLIC_ONCHAINKIT_PROJECT_NAME,
    description: `${process.env.NEXT_PUBLIC_ONCHAINKIT_PROJECT_NAME} - A MiniKit App`,
    other: {
      "fc:frame": JSON.stringify({
        version: process.env.NEXT_PUBLIC_VERSION,
        imageUrl: process.env.NEXT_PUBLIC_IMAGE_URL,
        button: {
          title: `Launch ${process.env.NEXT_PUBLIC_ONCHAINKIT_PROJECT_NAME}`,
          action: {
            type: "launch_frame",
            name: process.env.NEXT_PUBLIC_ONCHAINKIT_PROJECT_NAME,
            url: URL,
            splashImageUrl: process.env.NEXT_PUBLIC_SPLASH_IMAGE_URL,
            splashBackgroundColor: `#${process.env.NEXT_PUBLIC_SPLASH_BACKGROUND_COLOR}`,
          },
        },
      }),
    },
  };
};

Step 7: Learn about MiniKit hooks

MiniKit provides a set of hooks designed to help you build rich, social experiences within your mini app.

These include:

-useNotification – to send in-app and push notifications to users

-useAddFrame – to allow users to save your mini app to their Farcaster client

-UseViewProfile - Display a users profile

These hooks help your mini app feel native to the Farcaster feed and enable deeper engagement.

For a complete list of available utilities and examples, refer to the MiniKit Documentation.

Step 8: Share and Preview Your Mini App on Farcaster

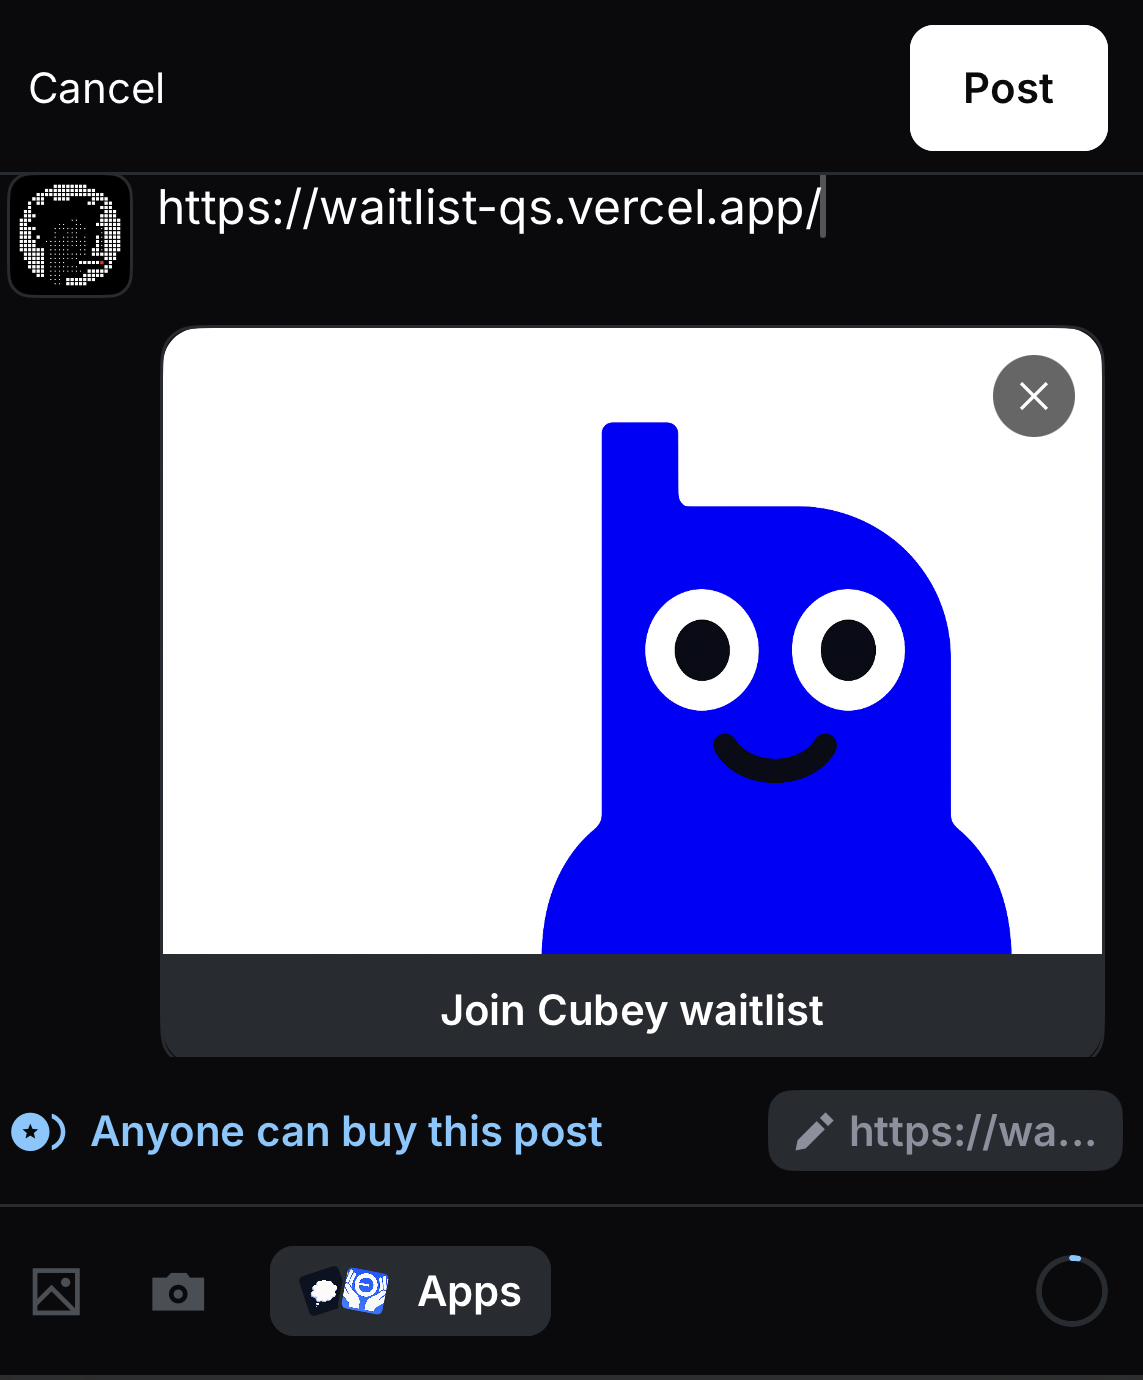
Once your Mini App is deployed and correctly configured, sharing its URL in a cast will automatically render an embedded experience in Warpcast and other Farcaster clients.

What to check before sharing:

  • Your app is deployed at a public domain and accessible via HTTPS.

  • Your manifest.json is correctly generated and served at:

https://yourdomain.com/manifest.json

How to test:

Use Warpcast’s manifest dev tool to preview how your app will appear: https://warpcast.com/~/developers/mini-apps/manifest

This tool validates:

  • That your manifest can be loaded

  • Your frame metadata is correctly formatted

  • Button actions and preview image are functioning

You can also use our debugging guide

How to share:

Once verified, simply create a cast with a link to your app’s URL. If all setup steps are correct, Warpcast will automatically display your Mini App as an interactive embed.