Introduction to Providers
This tutorial provides an introduction to providers and shows you how to connect your frontend to the blockchain using JSON RPC blockchain providers, and the [RainbowKit], [wagmi], and [viem] stack.Objectives
By the end of this tutorial, you should be able to:- Compare and contrast public providers vs. vendor providers vs. wallet providers
- Select the appropriate provider for several use cases
- Set up a provider in wagmi and use it to connect a wallet
- Protect API keys that will be exposed to the front end
Prerequisites
1. Be familiar with modern, frontend web development
In this tutorial, we’ll be working with a React frontend built with [Next.js]. While you don’t need to be an expert, we’ll assume that you’re comfortable with the basics.2. Possess a general understanding of the EVM and smart contract development
This tutorial assumes that you’re reasonably comfortable writing basic smart contracts. If you’re just getting started, jump over to our [Base Learn] guides and start learning!Types of Providers
Onchain apps need frontends, sometimes called dApps, to enable your users to interact with your smart contracts. A provider makes the connection from frontend to the blockchain, and is used to read data and send transactions. In blockchain development, the term provider describes a company or service that provides an API enabling access to the blockchain as a service. This is distinct from the providers you wrap your app in using the [React Context API], though you’ll use one of those to pass your blockchain provider deeply into your app. These services enable interacting with smart contracts without the developer needing to run and maintain their own blockchain node. Running a node is expensive, complicated, and challenging. In most cases, you’ll want to start out with a provider. Once you start to get traction, you can evaluate the need to [run your own node], or switch to a more advanced architecture solution, such as utilizing [Subgraph]. Figuring out which type of provider to use can be a little confusing at first. As with everything blockchain, the landscape changes rapidly, and search results often return out-of-date information.New onchain devs sometimes get the impression that there are free options for connecting their apps to the blockchain. Unfortunately, this is not really true. Blockchain data is still 1’s and 0’s, fetched by computation and served to the internet via servers.It costs money to run these, and you will eventually need to pay for the service.
Public Providers
Many tutorials and guides, including the getting started guide for [wagmi], use a Public Provider as the default to get you up and running. Public means that they’re open, permissionless, and free, so the guides will also usually warn you that you need to add another provider if you don’t want to run into rate limiting. Listen to these warnings! The rate-limits of public providers are severe, and you’ll start getting limited very quickly. In wagmi, a public client is automatically included in the default config. This client is just a wrapper setting up a [JSON RPC] provider using thechain and rpcUrls listed in Viem’s directory of chain information. You can view the [data for Base Sepolia here].
Most chains will list this information in their docs as well. For example, on the network information pages for [Base] and [Optimism]. If you wanted, you could manually set up a jsonRpcProvider in wagmi using this information.
Wallet Providers
Many wallets, including Coinbase Wallet and MetaMask, inject an Ethereum provider into the browser, as defined in [EIP-1193]. The injected provider is accessible viawindow.ethereum.
Under the hood, these are also just JSON RPC providers. Similar to public providers, they are rate-limited.
Older tutorials for early libraries tended to suggest using this method for getting started, so you’ll probably encounter references to it. However, it’s fallen out of favor, and you’ll want to use the public provider for your initial connection experiments.
Vendor Providers
A growing number of vendors provide access to blockchain nodes as a service. Visiting the landing pages for [QuickNode], [Alchemy], or [Coinbase Developer Platform (CDP)] can be a little confusing. Each of these vendors provides a wide variety of services, SDKs, and information. Luckily, you can skip most of this if you’re just trying to get your frontend connected to your smart contracts. You’ll just need to sign up for an account, and get an endpoint, or a key, and configure your app to connect to the provider(s) you choose. It is worth digging in to get a better understanding of how these providers charge you for their services. The table below summarizes some of the more important API methods, and how you are charged for them by each of the above providers. Note that the information below may change, and varies by network. Each provider also has different incentives, discounts, and fees for each level of product. They also have different allowances for calls per second, protocols, and number of endpoints. Please check the source to confirm!| [Alchemy Costs] | [QuickNode Costs] | [CDP Costs] | |
|---|---|---|---|
| Free Tier / Mo. | 3M compute units | 50M credits | 500M billing units |
| Mid Tier / Mo. | 1.5B CUs @ $199 | 3B credits @ $299 | Coming soon |
| eth_blocknumber | 10 | 20 | 30 |
| eth_call | 26 | 20 | 30 |
| eth_getlogs | 75 | 20 | 100 |
| eth_getbalance | 19 | 20 | 30 |
useContractRead hook set to watch for changes on a single view via a TanStack query and useBlockNumber will call eth_blocknumber and eth_call one time each, every 4 seconds.
Connecting to the Blockchain
[RainbowKit] is a popular library that works with [wagmi] to make it easy to connect, disconnect, and change between multiple wallets. It’s batteries-included out of the box, and allows for a great deal of customization of the list of wallets and connect/disconnect button. You’ll be using RainbowKit’s [quick start] to scaffold a new project for this tutorial. Note that at the time of writing, it does not use the Next.js app router. See [Building an Onchain App] if you wish to set this up instead.The script doesn’t allow you to use
. to create a project in the root of the folder you run it from, so you’ll want to run it from your src directory, or wherever you keep your project folders.It will create a folder with the project name you give, and create the files inside.Scaffolded App
Open your new project in the editor of your choice, and openpages/_app.tsx. Here, you’ll find a familiar Next.js app wrapped in [context providers] for the TanStack QueryProvider, RainbowKit, and wagmi.
projectId.
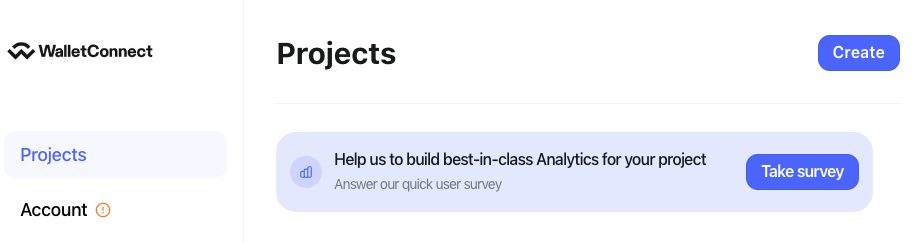
Open up the [WalletConnect] homepage, and create an account, and/or sign in using the method of your choice.
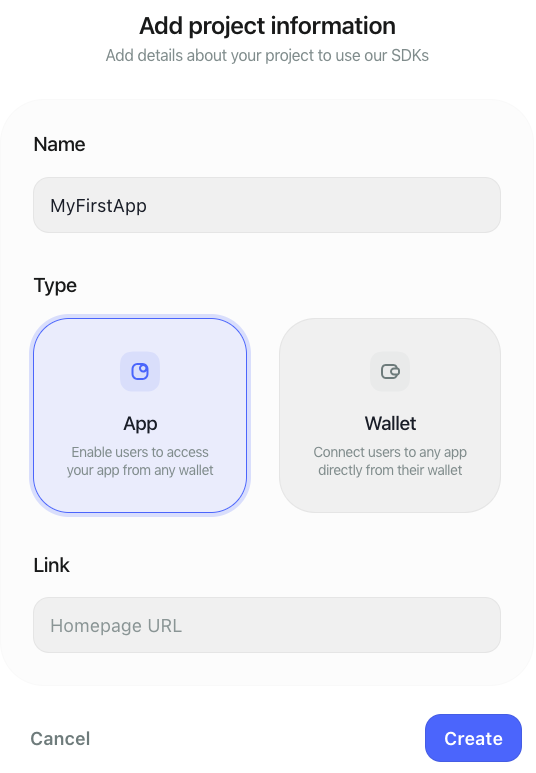
Click the Create button in the upper right of the Projects tab.
App option, and click Create.
projectId in getDefaultWallets.
Public Provider
By default, the setup script will configure your app to use the built-in public provider, and connect to a number of popular chains. To simply matters, remove all butmainnet and base.
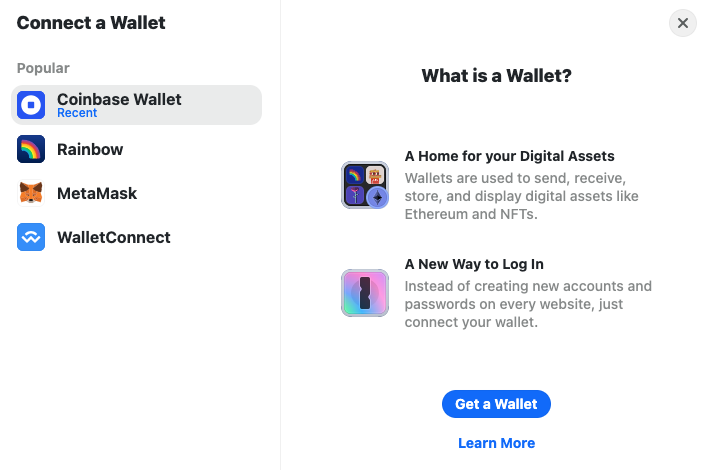
Connect Wallet button, select your wallet from the modal, approve the connection, and you should see your network, token balance, and address or ENS name at the top of the screen. Select your wallet from the modal.
QuickNode
To select your provider(s), you’ll use [createConfig] instead of getDefaultConfig. The [transports] property allows you to configure how you wish to connect with multiple networks. If you need more than one connector for a given network, you can use [fallbacks].
First, set up using [QuickNode] as your provider. Replace your import of the default config from RainbowKit with createConfig and http from wagmi:
Endpoints on the left side, then click + Create Endpoint.
On the next screen, you’ll be asked to select a chain. Each endpoint only works for one. Select Base, click Continue.
Base Mainnet, but you’ll probably want to delete this endpoint and create a new one for Sepolia when you start building. The free tier only allows you to have one at a time.
If you haven’t already picked a tier, you’ll be asked to do so, then you’ll be taken to the endpoints page, which will display your endpoints for HTTP and WSS.
Use this endpoint to add an http transport to your config:
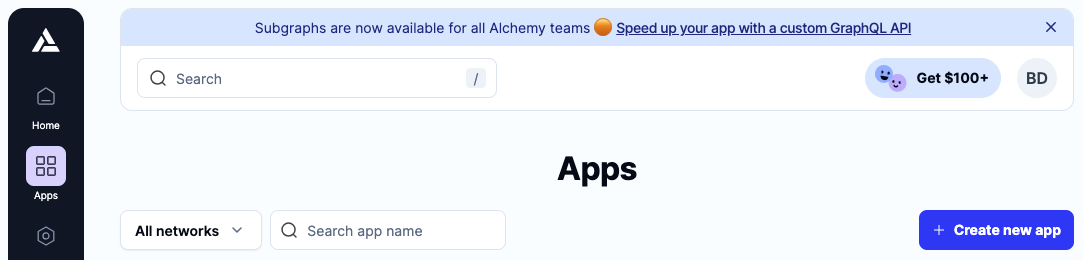
Alchemy
[Alchemy] is [no longer baked into wagmi], but it still works the same as any other RPC provider. As with QuickNode, you’ll need an account and a key. Create an account and/or sign in, navigate to theApps section in the left sidebar, and click Create new app.